How to sew a bound seam finish with seam binding
•
0 likes•247 views

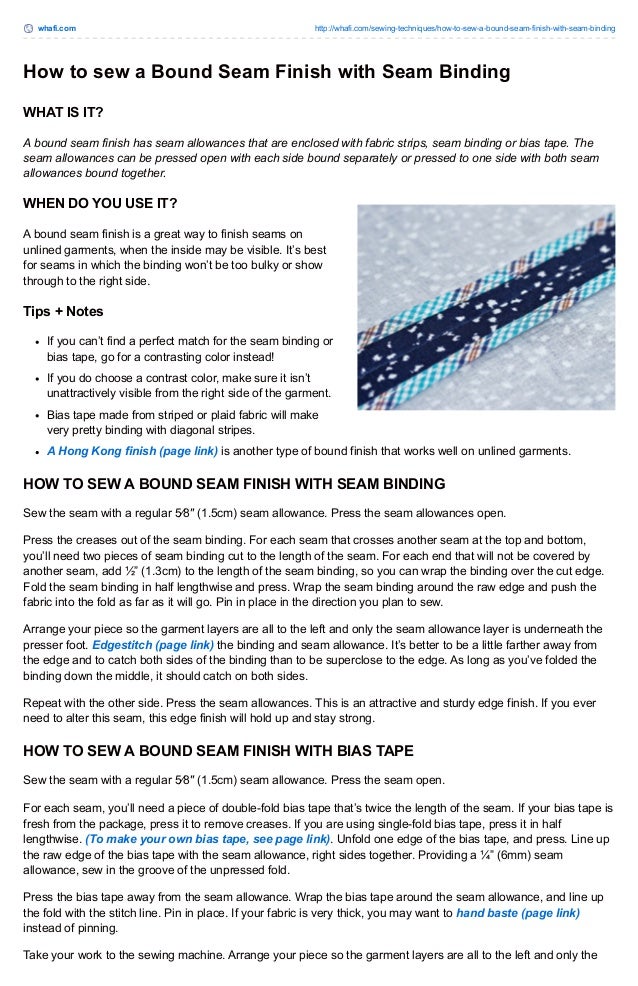
A bound seam finish has seam allowances that are enclosed with fabric strips, seam binding or bias tape. The seam allowances can be pressed open with each side bound separately or pressed to one side with both seam allowances bound together.

Recommended
More Related Content
More from Siti Yulaikha
Recently uploaded
Recently uploaded (20)
How to sew a bound seam finish with seam binding
- 1. whafi.com http://whafi.com/sewing-techniques/how-to-sew-a-bound-seam-finish-with-seam-binding How to sew a Bound Seam Finish with Seam Binding WHAT IS IT? A bound seam finish has seam allowances that are enclosed with fabric strips, seam binding or bias tape. The seam allowances can be pressed open with each side bound separately or pressed to one side with both seam allowances bound together. WHEN DO YOU USE IT? A bound seam finish is a great way to finish seams on unlined garments, when the inside may be visible. It’s best for seams in which the binding won’t be too bulky or show through to the right side. Tips + Notes If you can’t find a perfect match for the seam binding or bias tape, go for a contrasting color instead! If you do choose a contrast color, make sure it isn’t unattractively visible from the right side of the garment. Bias tape made from striped or plaid fabric will make very pretty binding with diagonal stripes. A Hong Kong finish (page link) is another type of bound finish that works well on unlined garments. HOW TO SEW A BOUND SEAM FINISH WITH SEAM BINDING Sew the seam with a regular 5⁄8″ (1.5cm) seam allowance. Press the seam allowances open. Press the creases out of the seam binding. For each seam that crosses another seam at the top and bottom, you’ll need two pieces of seam binding cut to the length of the seam. For each end that will not be covered by another seam, add ½” (1.3cm) to the length of the seam binding, so you can wrap the binding over the cut edge. Fold the seam binding in half lengthwise and press. Wrap the seam binding around the raw edge and push the fabric into the fold as far as it will go. Pin in place in the direction you plan to sew. Arrange your piece so the garment layers are all to the left and only the seam allowance layer is underneath the presser foot. Edgestitch (page link) the binding and seam allowance. It’s better to be a little farther away from the edge and to catch both sides of the binding than to be superclose to the edge. As long as you’ve folded the binding down the middle, it should catch on both sides. Repeat with the other side. Press the seam allowances. This is an attractive and sturdy edge finish. If you ever need to alter this seam, this edge finish will hold up and stay strong. HOW TO SEW A BOUND SEAM FINISH WITH BIAS TAPE Sew the seam with a regular 5⁄8″ (1.5cm) seam allowance. Press the seam open. For each seam, you’ll need a piece of double-fold bias tape that’s twice the length of the seam. If your bias tape is fresh from the package, press it to remove creases. If you are using single-fold bias tape, press it in half lengthwise. (To make your own bias tape, see page link). Unfold one edge of the bias tape, and press. Line up the raw edge of the bias tape with the seam allowance, right sides together. Providing a ¼” (6mm) seam allowance, sew in the groove of the unpressed fold. Press the bias tape away from the seam allowance. Wrap the bias tape around the seam allowance, and line up the fold with the stitch line. Pin in place. If your fabric is very thick, you may want to hand baste (page link) instead of pinning. Take your work to the sewing machine. Arrange your piece so the garment layers are all to the left and only the
- 2. seam allowance layer is underneath the presser foot. Edgestitch (page link) close to the edge of the bias tape. Repeat with the other side. Press the seam allowances. Source : The Sewtionary An A to Z Guide to 101 Sewing Techniques + Definitions About the Author : Tasia ST. Germaine Tags: bound, seam finish, sewing basics, sewing for beginners, sewing projects