Using Slideshare to share and discover presentations
•
0 likes•701 views

Advice for setting up a Slideshare account and using within an academic setting.

Recommended
More Related Content
What's hot
What's hot (19)
Viewers also liked
Viewers also liked (8)
Similar to Using Slideshare to share and discover presentations
Similar to Using Slideshare to share and discover presentations (20)
More from Bex Lewis
More from Bex Lewis (20)
Recently uploaded
Recently uploaded (20)
Using Slideshare to share and discover presentations
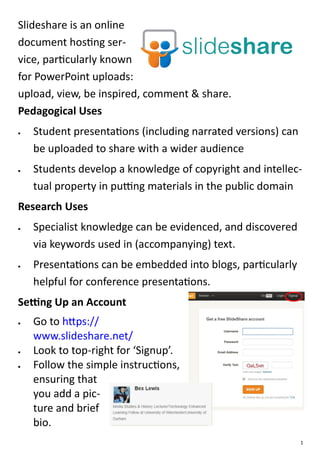
- 1. Slideshare is an online document hosting ser- vice, particularly known for PowerPoint uploads: upload, view, be inspired, comment & share. Pedagogical Uses Student presentations (including narrated versions) can be uploaded to share with a wider audience Students develop a knowledge of copyright and intellec- tual property in putting materials in the public domain Research Uses Specialist knowledge can be evidenced, and discovered via keywords used in (accompanying) text. Presentations can be embedded into blogs, particularly helpful for conference presentations. Setting Up an Account Go to https:// www.slideshare.net/ Look to top-right for ‘Signup’. Follow the simple instructions, ensuring that you add a pic- ture and brief bio. 1
- 2. Searching for Presentations Simply go to the search box at the top of the page, enter the search term, and press return, or the search icon. The written description will help you determine whether to look further. Click on the presentation name to see the presentation. Recency of presentations is visible. Searching for Users Search as above, but once results are returned, se- lect the ‘Users’ box. Downloading a Presentation Either at the search stage, or look above the presentation for ‘Save File’. If the option isn’t visible, it’s not downloadable. 2
- 3. Uploading a Presentation Select the ‘Upload’ button next to the search box. Unless you pay for the ‘Pro’ version, click again on the next orange ‘Upload’ button. Find a file saved on your hard-drive. Press ‘open’ once the file has been selected. Whilst the file is uploading, you have the opportunity to add details (if you wish untick ‘allow file download’), but don’t panic if you’re not fast enough as you can complete once up- loaded. Include ti- tle, tags and de- scription to allow others to find your work easily: Embedding a Presentation At the top of the uploaded presentation find ‘Embed’, then simply ‘Copy’ the HTML code into your blog or website. 3
- 4. Editing Uploaded Material Go to your user name, and allow the list to drop down. Some op- tions are only available for ‘Pro’ users. Select ‘My Uploads’ A list of all your uploaded presen- tations will appear. Select Edit/ Delete on the required presentation. You can then edit all the details about the presen- tation. Consider applying a ‘Creative Commons’ li- cence to your material, to allow wider distribution. A newer version of the document can be up- loaded, maintaining the web address (URL). Simply select ‘Replace document’. This is particularly good for getting a URL before you give a presentation. Dr Bex Lewis: Creative Commons Attribution-NonCommercial-ShareAlike 3.0 Unported License. 4